Follow the steps below to install SiteView, connect your data logger, and begin using it.
1. Install SiteView
Install SiteView on your computer.
Follow the on-screen instructions during installation.
For detailed installation instructions, refer to the SiteView Quick Start Guide.
2. Connect the Data Logger
Connect the data logger to a USB port on your computer.
Windows will complete the required USB driver installation.
3. Start SiteView
Double-click the SiteView shortcut on your desktop.

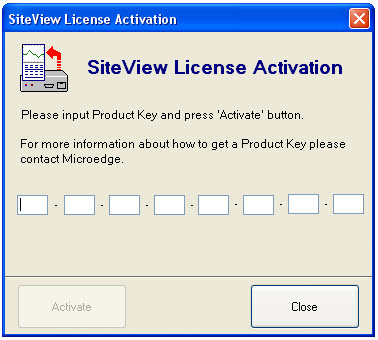
When prompted, enter your valid Product Key.
4. Open the Data Logger
If the logger is connected correctly, it will appear under the USB tab on the left side of SiteView.
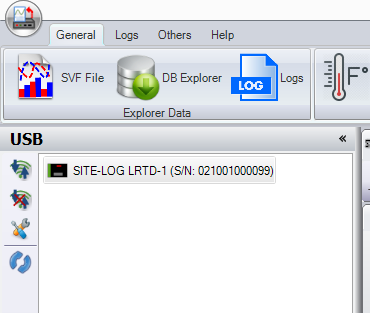
Double-click the logger icon.
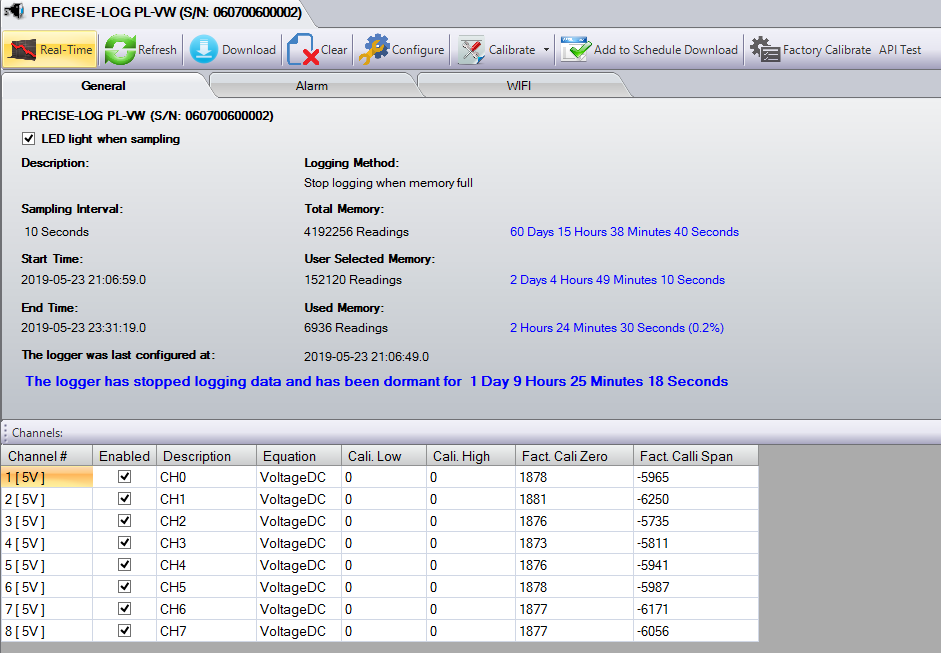
The logger’s Status window will open and display its current information.
5. Configure or Download Data
From the logger’s Status window, you can perform common tasks such as:
- Configure a new logging session
- Download recorded data
- View logger status
- Check battery level
- Configure channels and equations
For instructions on starting a new logging session, refer to:
How Do I Start a New Logging Session?
For instructions on downloading data, refer to:
How Do I Download Data from a Data Logger?
PRECISE-LOG WiFi Data Loggers
If you are using a PRECISE-LOG WiFi data logger, first complete the USB setup above, then configure its WiFi connection in SiteView.
For detailed instructions, refer to:
How to Configure WiFi Settings for a PRECISE-LOG Data Logger